Well its been a few days since I started playing around with the Raspberry Pi’s and trying to figure out what/how Kubernetes will run, let alone how to use it. I’ve discovered some things along the way…
Kubernetes isn’t Kubernetes
As it turns out Kubernetes seems to be more of a ‘spec’ or ‘concept’ than neccesarily a product these days. I knew from the outset that vanilla Kubernetes would be resource intensive, let alone overkill, due to its design for very very highly scalable deployments. There’s a few choices that lend themselves to more “embedded” or lightweight scenarios. I’d initially explored and chosen microk8’s from Canonical largely due to its massive hype and nagging each time you login to Ubuntu on Raspberry Pi. However after i’d setup Ubuntu on a Raspberry Pi, deployed microk8’s and saw that in fact, its not as micro as it looks, i’d already discovered a potentially more viable alternative.
k3s
From Rancher, the makers of seemingly tons of Kubernetes things, k3s is a certified Kubernetes distribution built for IoT & Edge computing. Sounds pretty relevant, whats more, when searching for some experience in this problem space, I came across k3sup a neat little script which now forms 60 of my 120 seconds taken to deploy a new node (the reality is its even faster).
This also meant I wasn’t tied down to Ubuntu for the Raspberry Pi’s, based on previous experience, this is a good thing for “production” homelab environments, as the official Raspberry Pi OS seems far better supported. For example, USB booting works out the box with Raspberry Pi OS and requires all sorts of dancing and modification to Ubuntu. Hence, I selected Raspberry Pi OS (which now has official 64-bit support), however there were still a few tweaks required before it’d work “out the box”.
Raspberry Pi OS Preparation
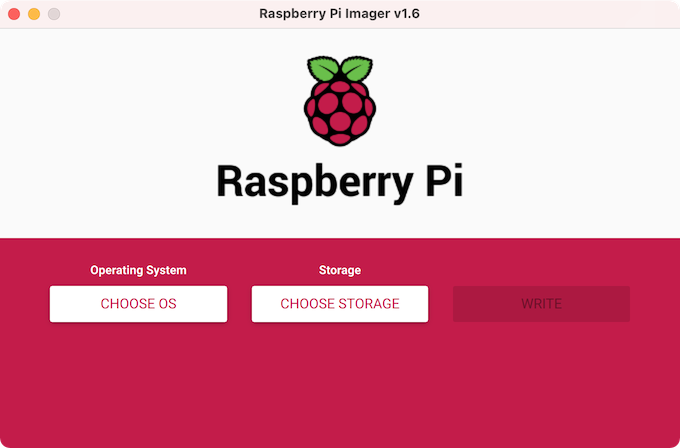
- Flashing the microSD / USB / NVMe or whatever your boot method of choice is still relatively easy. You can go the
ddway followed by a fewmount’s andumount’s, or if as lazy as I, download Raspberry Pi Imager which will get you both the latest OS image, allow you to configure Wi-Fi (if needed), SSH, a unique hostname (very important for kubernetes) and an initial user.
-
After imaging your medium, the device will be automatically ejected, time to plug it back in.
-
Inside the mounted
/bootpartition you’ll findcmdline.txt, this is where we can enable container features in the booting kernel that are required for kubernetes.
cgroup_enable=cpuset cgroup_memory=1 cgroup_enable=memory
-
Time to
umountone last time and boot up your Pi with your newly flashed medium. But we’re not done yet… -
Raspberry Pi OS Lite doesn’t include
iptablesout the box and whats more, Debian Buster which its based on, has a new version ofiptablesthat Kubernetes isn’t currently compatible with (apparently). Luckily we can install it and still switch to the ‘legacy’ version.
apt install iptables -y && update-alternatives --set iptables /usr/sbin/iptables-legacy
You may wanna set a static ip for your Pi at this point, thats pretty self explanatory inside /etc/dhcpcd.conf. Once this is done, we’re done too and ready for Kubernetes…
Installing Kubernetes
This is probably the quickest and easiest part of the whole process. On your workstation, i.e. your Mac (not your Pi). Run:
curl -sLS https://get.k3sup.dev | sh && sudo install k3sup /usr/local/bin/
The end.
..No really, almost. Make sure your workstation can access your Pi’s using public-key based authentication, the easiest way to do this is to generate an RSA keypair if you don’t already have one ssh-keygen -t rsa and then copy it over to the Pi using ssh-copy-id pi@IP
Now to provision a Kubernetes Master (at least one is essential for any cluster),
k3sup install --ip PI_IP_ADDRESS --user pi
Thats it. No really this time. If you want to provision additional nodes then run
k3sup join --ip NEW_NODE_PI_IP_ADDRESS --server-ip PI_MASTER_IP --user pi.
Finally make sure kubectl knows where to find your kubeconfig file which contains all the neccesary tokens and metadata to communicate with your cluster, and you’re ready to control your cluster using kubectl directly.
export KUBECONFIG=/home/YOURUSER/kubeconfig
kubectl get node -o wide
We now have a fully deployed Kubernetes cluster running a lightweight variant on Raspberry Pi’s that we can deploy any container to with “infinite” scalability (in theory). This is just the beginning.